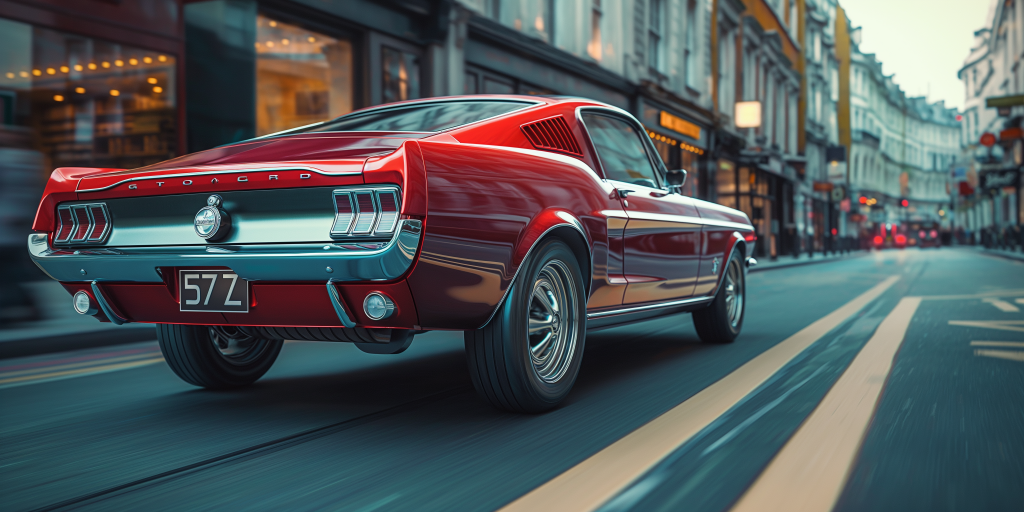
The Ford Mustang, an emblem of American automotive history, is more than just a car—it’s a symbol of freedom, power, and timeless design. Restoring a classic Mustang is not merely a mechanical process but a journey into the past, a homage to a legend.
Whether you own a vintage ’65 or a ’70 Mach 1, restoring a Mustang can be a rewarding experience. This guide will walk you through the steps to bring a classic Mustang back to life, ensuring that you revive the legend in all its glory.
Step 1: Assess the Condition
The first step in any restoration project is to evaluate the current state of the vehicle. Here’s how to conduct a thorough assessment:
Exterior Inspection:
- Rust Check: Look for rust in common areas such as the floor pans, trunk, and around the wheel wells.
- Body Damage: Inspect for dents, dings, and any structural damage.
- Paint Condition: Note the condition of the paint. Is it faded, chipped, or scratched?
Interior Inspection:
- Upholstery: Check the seats, dashboard, and door panels for tears, wear, and sun damage.
- Instrumentation: Ensure all gauges and dials are present and functional.
- Carpeting: Look under the carpets for rust or signs of water damage.
Mechanical Inspection:
- Engine Condition: Does the engine run? Are there any leaks or unusual noises?
- Transmission: Test the transmission for smooth operation.
- Suspension and Brakes: Check for wear in the suspension components and brake system.
By documenting your findings, you can prioritise what needs immediate attention and what can be addressed later.
Step 2: Planning and Budgeting
With a comprehensive assessment in hand, it’s time to plan and budget for your restoration project.
Create a Restoration Plan:
- Timeline: Estimate how long each phase of the restoration will take. Be realistic and allow for unexpected delays.
- Parts List: Make a detailed list of parts needed, from major components like engines and transmissions to small items like screws and trim pieces.
- Suppliers: Research and contact suppliers who specialise in Mustang parts. Online forums and local Mustang clubs can be valuable resources.
Budgeting:
- Cost Estimates: Obtain quotes for parts and labour. Factor in additional costs for tools and equipment you may need to purchase or rent.
- Contingency Fund: Set aside a contingency fund for unexpected expenses, typically around 10-20% of your total budget.
Step 3: Disassembly
Disassembling your Mustang is a meticulous process that requires patience and organisation.
Document Everything:
- Photos and Videos: Take detailed photos and videos of every part and assembly before and during disassembly. This will be invaluable during reassembly.
- Labelling: Label each part and fastener with tags or ziplock bags. Keep parts organised by system (e.g., engine, suspension, interior).
Major Components:
- Interior: Start with the interior, removing seats, dashboard, carpeting, and headliner.
- Exterior: Remove the bumpers, trim, lights, and glass.
- Engine and Transmission: Carefully disconnect and remove the engine and transmission, noting the location of all connections.
By the end of this step, your Mustang should be a bare shell, ready for bodywork.
Step 4: Bodywork and Paint
Restoring the body of your Mustang is crucial to both its appearance and structural integrity.
Rust Repair:
- Cutting and Welding: Cut out rusted sections and weld in new metal patches. Ensure all welds are clean and strong.
- Rust Treatment: Use rust converters and sealants to treat minor rust spots.
Bodywork:
- Dent Removal: Use body filler and sanders to smooth out dents and imperfections.
- Panel Alignment: Ensure all body panels align correctly, adjusting as necessary.
Painting:
- Preparation: Sand the entire body to a smooth finish. Apply primer to create a good base for the paint.
- Painting: Choose an original Mustang colour or a custom shade. Apply multiple coats of paint, followed by a clear coat for a glossy finish.
- Buffing and Polishing: Once the paint is fully cured, buff and polish the body to achieve a showroom shine.
Step 5: Engine and Mechanical Systems
Restoring the heart of your Mustang involves careful rebuilding and tuning.
Engine Rebuild:
- Disassembly: Completely disassemble the engine, cleaning and inspecting each part.
- Machining: If necessary, have the block, heads, and other components machined by a professional.
- Reassembly: Rebuild the engine with new gaskets, seals, and performance parts. Ensure everything is torqued to specification.
Transmission and Drivetrain:
- Inspection: Inspect the transmission for wear and replace worn components.
- Installation: Reinstall the transmission, ensuring proper alignment and connection to the engine.
Suspension and Brakes:
- Upgrade: Consider upgrading to modern suspension components for improved handling.
- Brakes: Replace brake lines, pads, and rotors. Upgrade to disc brakes if your Mustang has drum brakes.
Exhaust System:
- Installation: Install a new exhaust system, ensuring it meets your performance and sound preferences.
Step 6: Interior Restoration
The interior is where you’ll spend most of your time, so comfort and aesthetics are key.
Upholstery:
- Seats: Reupholster the seats with new foam and covers, matching the original style or choosing a custom look.
- Dashboard: Restore or replace the dashboard, ensuring all gauges and controls are functional.
Carpeting and Headliner:
- Installation: Install new carpeting and a headliner, ensuring a snug fit.
Additional Features:
- Sound System: Upgrade the sound system with modern components while keeping a vintage appearance.
- Air Conditioning: Consider adding air conditioning for comfort, especially if you plan to drive your Mustang regularly.
Step 7: Reassembly and Final Touches
Reassembling your Mustang is like putting together a complex puzzle. Patience and precision are essential.
Step-by-Step Reassembly:
- Interior: Start with the interior, installing the dashboard, seats, and trim pieces.
- Exterior: Reinstall the glass, trim, bumpers, and lights.
- Engine and Drivetrain: Reconnect the engine and transmission, ensuring all hoses, cables, and wires are properly attached.
Final Inspection:
- Checklist: Go through a detailed checklist to ensure everything is noticed.
- Test Drive: Perform a thorough test drive to check for any issues. Adjust and fine-tune as needed.
Wrapping It Up
Restoring a classic Mustang is a labour of love that requires time, dedication, and meticulous attention to detail. Following this guide’ll bring a legendary car back to life and gain a deeper appreciation for its craftsmanship and history.
So, roll up your sleeves, gather your tools, and embark on the rewarding journey of Mustang restoration. The legend awaits its revival.


